Showing posts with label favors. Show all posts

12.30.2011

Mini Obsession: POLKA DOTS!

Lately I've found myself drawn to all things polka dots...don't ask why. Perhaps I was deprived of them as a child? Possibly. The whimsical nature of polka dotted items add instant "fun" factor to any event. Mix and add different colors, and perhaps some gingham and floral patterns, and you've got yourself a fun soiree. Check out some of my love's below and the reason for my new-found addiction.
Hope you enjoyed all the loveliness. Have a safe and happy new years all!
-Christina
10.23.2011

DIY Project: Personalized Photo Tile Coasters

Photo Tile Coasters {Using Resin}
These photo coasters make a GREAT gift for the hubby to be, the parentals, wedding party, etc! And not only are they cheap and easy to make, emphasis on the word CHEAP...it's something the receipient will likely cherish and USE for many years to come. They can be used to keep your adult beverages from dirtying up the coffee table, or placed in a display for show on a wall. Buy some coasters from the store for someone and they may end up in the regift bin; however handmade photo coasters make for a heartfelt gift, that will definitely put a smile on their face. I give full credit for this post to the most awesome Oopsey Daisy over at TipJunkie. Check out the below tutorial and happy coaster-making!
Using resin is an awesome way to memorialize and create projects that will last through rain or shine. It creates a sealed barrier that protects the contents inside, and if the directions are followed precisely, will leave a nice smooth, shiny (almost glass-like) finish. Be sure to follow the directions to a "T" with whichever resin you choose to go with. Once you get it down, you will fall in love with this product, and more will be used for sure in your creative future. 
Here’s how to create these AMAZEBALLS photo coasters…
Start out with a trip to Home Depot.  These 4×4 tiles are only 19 cents each!  It doesn’t get much cheaper than that!  And pick up a package of 72 felt mounting circles for approximately $3.50.  Not too shabby!


Next, you need to order some photo prints. Only 13 cents each at Costco!  Then, cut the prints down to 4"x4" so they will fit on each tile. 


A regular old Elmer’s glue stick can be used to paste each picture onto the tiles.  (I love glue sticks–you can’t leave fingerprints with glue sticks!!)  Try to get the acid-free kind that is safe to use with photos.

We won’t give a full tutorial on using resin because each product is a little different.  For this project we used Envirotex Lite, and followed the instructions on their website very precisely.  The key to using resin is precision.  So be careful, perhaps do a trial run on an extra tile and you should get a high gloss finish that is absolutely beautiful!

After mixing the resin with the hardener, you just pour it on!  Then spread it out using popsicile sticks.  If you have a blow torch, you can use it, ON LOW, to get out the bubbles that pop up in the first 15 minutes or so.  But do you have to use a blow torch?? The answer is NO!  You can blow through a straw, blowing out the bubbles in the very same way.
It should take a full 24 hours to harden up!  Maybe a bit longer, at the longest, up to 72 hours to get completely hard.

Once dry, mount 4 of the felt circles on the bottom of each tile so they can slide easily on wood or any surface without scratching!

Then woooo-hooooo....ALL DONE!  Give yourself a well-deserved pat on the back for creating a frugal, yet very awesome gift. Go DIY'ers - you rock!

Tie them up with a bow and you have the PERFECT gift!  Use these for an anniversary, christmas present, or if you really want to go all out - as favors at your wedding.  As you can see from the tutorial, the time involved isn't unbearably long, but to finish the project for 50-100 pieces will require some dedication as well as some help from a few rock star friends.  Black and white photos create a stunning effect, but color works amazingly well too. 

Now these are just stinkin’ cute!!  Grandparents are sure to adore this project if made with pictures of the little bebe's. 

Two sets of coasters (and enough supplies for a third!) – for less than $10 total.  Awesome possum!!

9.21.2011

Monogram Etiquette

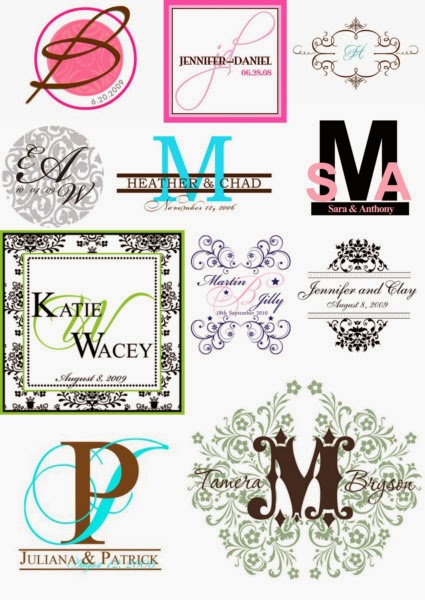
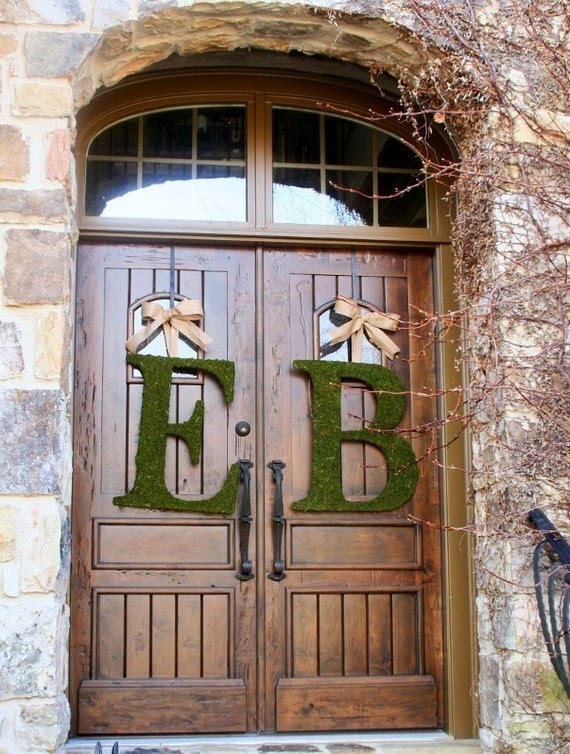
Monogram etiquette isn't common knowledge for most folks, hence the reason for this post. So how do I go about explaining the proper etiquette without boring you to tears. Hmmmmm, here goes: in short definition, monograms are those cute, calligraphy-looking letters you see hanging on bathroom towels in fancy houses (oh, and at weddings too). Who am I kidding, you know what a monogram is, right?? Exhibit a:
Ok, so on to the next (and more complicated) question…do you know the proper way to create your own monogram? In what order should your initials be displayed? Who's name comes first? Which is the bigger letter? Let's face it, how many people really take the time to research the appropriate way to display your monogram...I therefore, am putting together this very short, very simple list of rules to follow.
  • A general rule of thumb, and most importantly...the brides name always comes first! Duh, because we are more beautiful and special...heh, I kid, I kid.
  • If using initials only, the order is: the brides first initial, groom's last name, the grooms first initial
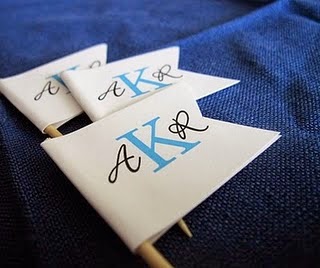
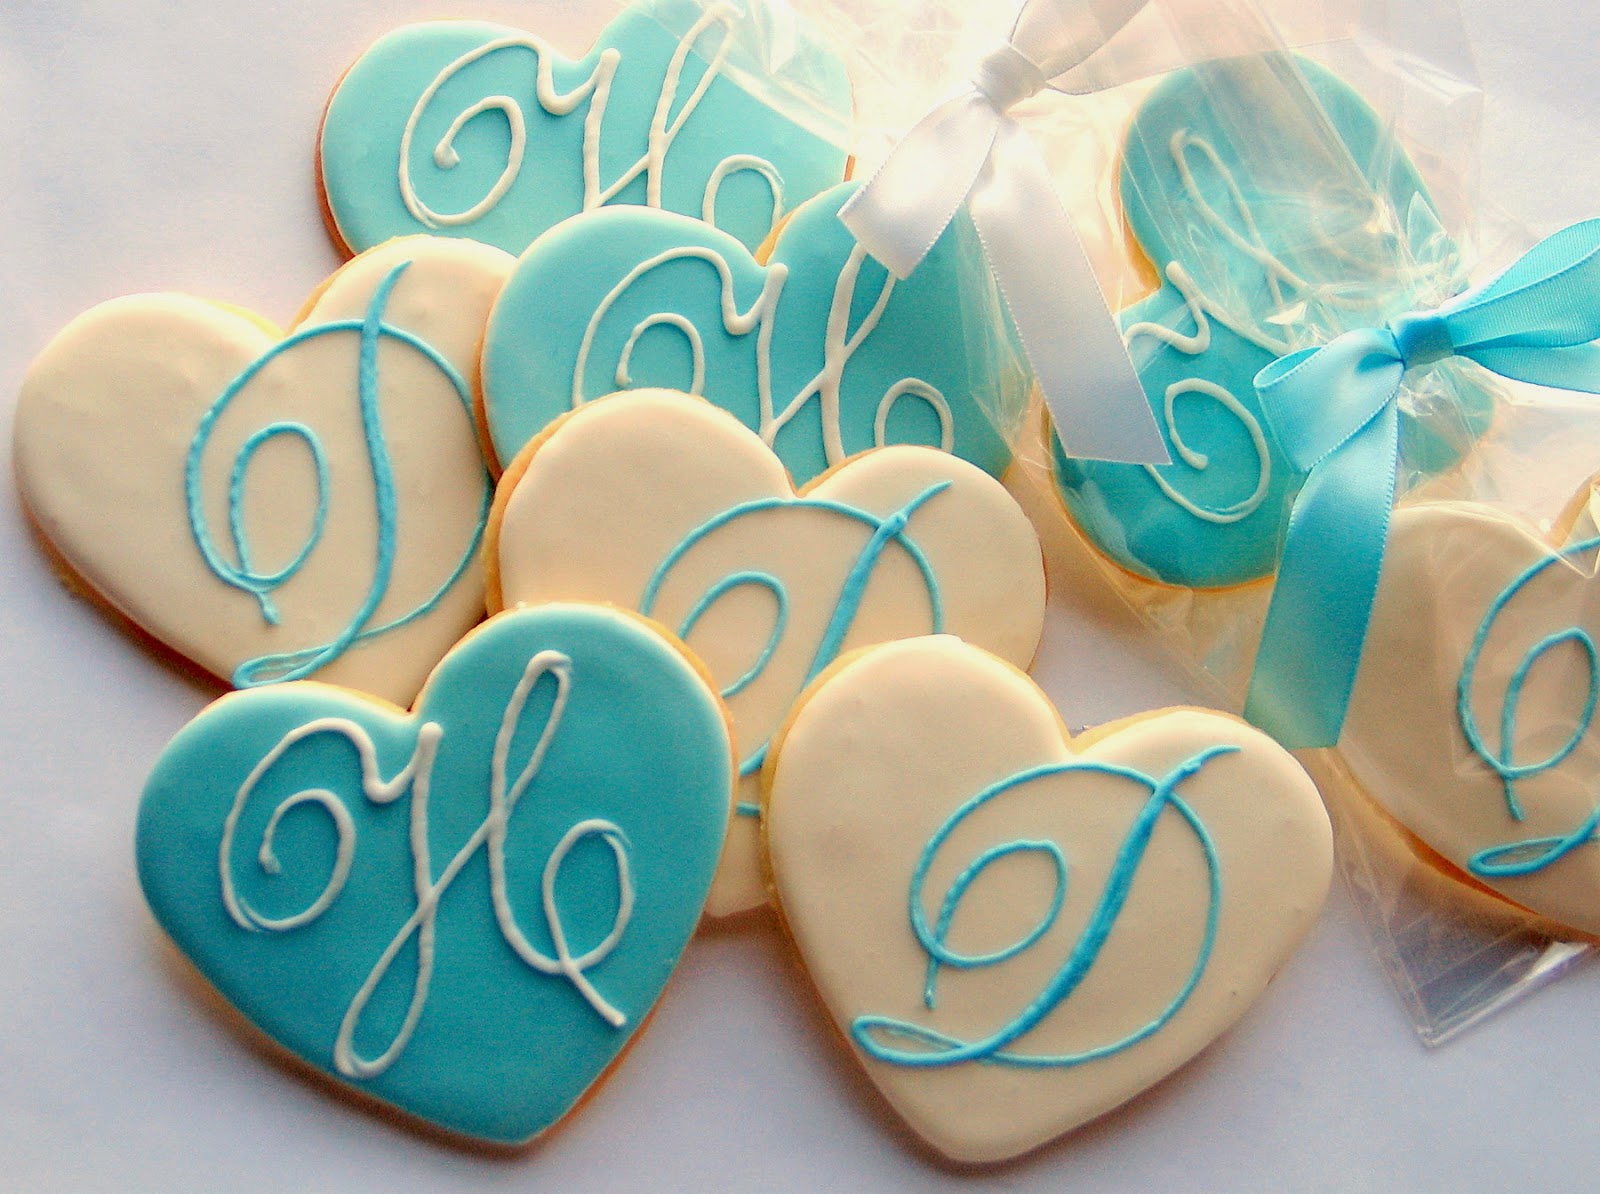
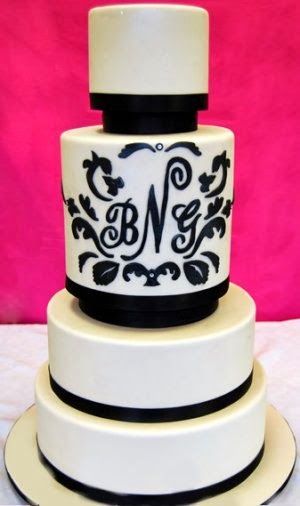
That's it. Pretty simple right? I'm glad we got that established. Now on to the fun part: the ways to utilize your monogram are ENDLESS. Use on wine bottle tags, stationary, cake toppers, napkins, aisle runners, favors, signs, chair ties, decor, signs, drink stirrers, flags, etc, etc, etc! A wedding monogram is kind of a big deal, almost in the same category as the cake, rings and officiant...ok, not quite. But close.
P.S. In case you didn't know, Envy Events will design your own personalized monogram for a flat rate of $50. Unlimited revisions included. Pass it on. Also, check out our post on custom monogrammed stamps from Zazzle.com.

9.02.2011

DIY Project: Making Your Cupcakes Cute

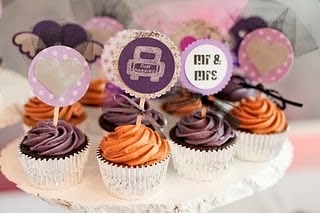
If you are like me, you browse through countless wedding blogs whenever humanly possible. I love seeing all the lovely little details of DIY weddings and stare longingly, wondering how to share them with you all. Today I wanted to try those cute little cupcake signs that have been seen on Style Me Pretty. Here's an inspiration picture.

How cute are these?? But they are $9 for a set of 12, and that could add up really fast, especially if you have a large guest list. For example, if your guest list is 150, you would need 13 sets of 12, which comes out to (carry the 3, subtract the 1) $113. But enough blabbling, on to your DIY instructions...

Supplies needed (can be found in any craft supply store):

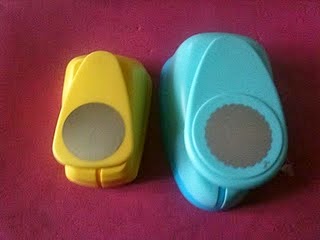
  • Big scalloped-edge hole-puncher (2 inch)
  • Slightly smaller circle hole puncher (1.5 inch)
  • “Woodsies” wooden sticks (5.75 inch)
  • Glue sticks & hot glue gun
  • Cute construction or scrap-booking paper
  • Letter stickers

Here is a closer look at the hole-puncher's:

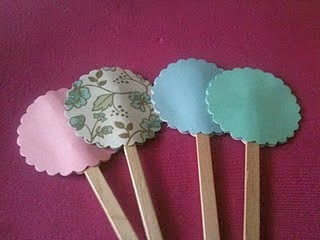
Start by cutting out a few of each of the circles, playing around with the patterns and colors from the card stock you have. Then, hot-glue the circle onto the stick (or use Zots if you don't want to use a messy glue gun). If you don't want to leave the stick exposed on the back, glue the matching color onto the back.
 

Next, apply some sticker letters, or quotes to the circles. Mix it up by using different sayings such as:
Your monogram or initials,We Do, I Do,Love,Kiss,Sweet,Just Wed,In Love,Happy,Mrs, Mr, ...etc


All in all, these will turn out so cute!! Not to mention, they are sooooo ridiculously easy to make! This DIY trend has been popping up everywhere, and I love the idea of cupcakes instead of a traditional cake, or in addition to a traditional cake. There's many uses for these: think drink stirrers, attached to favor bags, "toss me" bags, at the bar or dessert table....the list goes on and on!

{Courtesy of Miss Petit Four of Weddingbee}

8.20.2011

Jones Soda Custom Bottle Labels


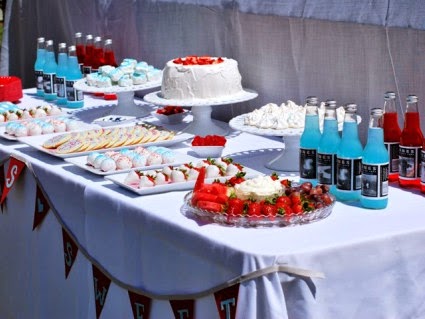
I found a pretty sweet treat for y'all while browsing on WedLoft.com. If you're in search of an adorable, colorful way to personalize your reception/event, look no more. Why is that, you ask? Because I've found custom bottle labels courtesy of Jones Soda! This Seattle-based company not only offers bev's that are yummy, they're eye candy as well. They come in a wide variety of flavors and colors, and the labels can be fully customized to include a personal photo, blurb about yourself, or any information you deem necessary. At $29.99 per case of 12, these aren't the most budget-friendly alternative to water bottle labels, however, the glass bottle and design altogether hints toward an added level of attention to detail and class. Check out the photos below, and you'll see why.


Here's an original way to display place cards! Attach a tag to the bottle, and offer your party guests a sweet drink when they arrive. It's sure to be a conversation starter that everyone will appreciate. Add your own text, images, and create a one-of-a-kind party favor! 


Use the bottles to add a POP of color to any dessert table!


They also serve a dual purpose...party favor / drinks for the guests!

(All images courtesy of WedLoft.com)

3.17.2009

Etsy.com = Online ADDICTION!

Photobucket

Whether you're looking for a monogrammed chair tie or a cake topper that different than the typical b & g figurines...etsy.com will likely have what you heart most desires! Etsy is a site where talented crafters and artsy folks alike post and sell their handmade, UNIQUE items. This can be especially helpful if you're not quite the skilled project master or just simply don't have the time to take on any DIY projects. There is soooo much to be said about having an item that is not mass-produced...knowing that you are in possession of a "one of a kind makes" it more intriguing and special. So check it out, you'll be glad you did - promise!

1.29.2009

Candy Buffets: Sweets Galore!!


A brilliant person once came up with the idea of hosting a candy buffet. What an awesome idea! I've always noticed that people love to splurge and give-in a little at weddings. Maybe it's the love in the air? Or the fact that they're in company of good food and loved ones. The candy buffet lets our inner child delight in both a visual and tasty treat! Put together a buffet in the same color as your reception color scheme and you have instant decor. Not to mention the glass apothecary jars used are quite elegant-looking as well. Here's some eye-candy and hopefully some inspiration for your own candy buffet!

"Fill a bag with delightful treats, and just remember, LOVE IS SWEET!"

Such a creative way to personalize your candy table!


I just love the "sweet love" lettering on this table:


Signs are always a cute addition!


"All you need is love... and maybe a little bit of candy. Please scoop responsibly, friends don't let friends dance on a sugar high."

It's always a good idea to place favor bags at the candy table, this way guests can take the treats home and you'll reduce the amount of candy leftover.


Color-coordinated ribbons = love


All images courtesy of kmjdepalma on flickr